Building a DIY drone using open-source software is an exciting project that allows you to learn about drone technology while customizing your own flying machine. Here’s a step-by-step guide to help you get started:
Table of Contents
1. Choose the Right Drone Frame
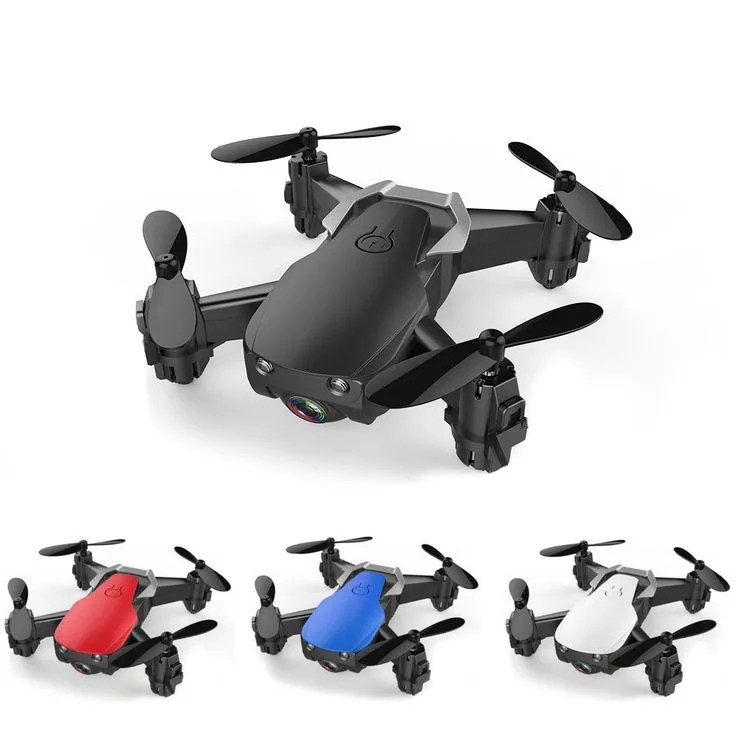
The first step in building a DIY drone is selecting a frame that suits your needs. The frame holds all the components of the drone together. There are different types of frames available depending on the size and type of drone you want to build (e.g., quadcopter, hexacopter).
- Quadcopter frames are the most common for hobbyists.
- Ensure the frame is sturdy and lightweight, typically made of carbon fiber or plastic.

2. Select the Components
For your drone to function, you’ll need several essential components:
- Motors: You’ll need four motors for a quadcopter. Brushless motors are highly recommended for their efficiency and durability.
- Electronic Speed Controllers (ESCs): These control the speed of your motors and are crucial for smooth flight.
- Flight Controller: This is the brain of the drone. It communicates with the remote control and sensors to stabilize the drone. Open-source software like ArduPilot and PX4 can be used with various flight controllers.
- Propellers: Choose propellers that match the size of your drone. Plastic propellers are cost-effective and lightweight.
- Battery: A lithium-polymer (LiPo) battery is typically used for drones. The size of the battery depends on the size of the drone and its intended flight time.
- Power Distribution Board (PDB): This distributes power from the battery to the ESCs and other components.
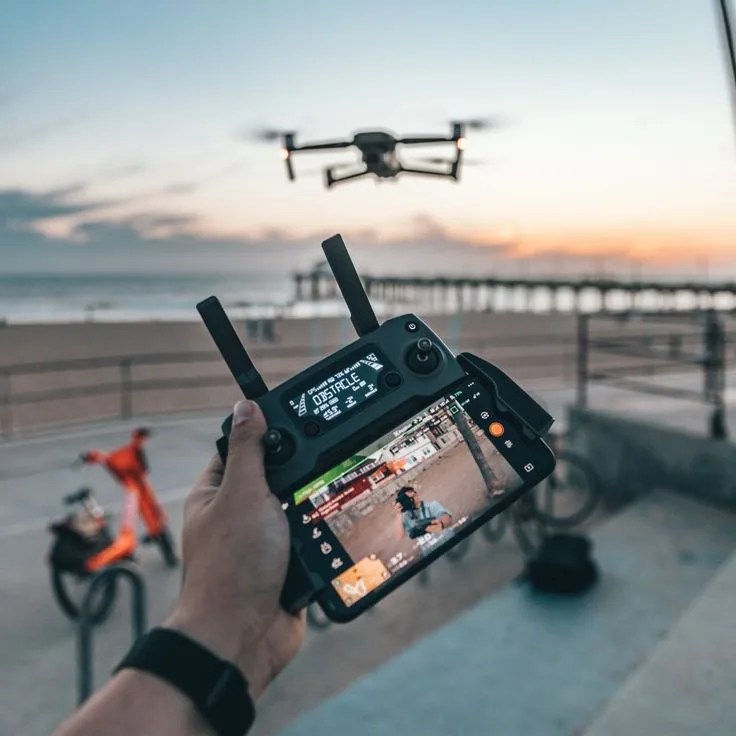
- Transmitter and Receiver: A radio transmitter and receiver are needed for controlling your drone from the ground.
3. Install Open-Source Software
To control your drone, you’ll need flight control software. Two popular open-source options are:
- ArduPilot: This software supports a variety of drone types and offers advanced features like GPS-based flight, autonomous missions, and obstacle avoidance.
- PX4: Another widely used open-source software, PX4 is flexible and supports both drones and other unmanned vehicles. It offers features like GPS, altitude hold, and waypoint navigation.
Both platforms have active communities, so you’ll find plenty of tutorials and support for installing and configuring the software.

4. Assemble the Drone
Once you have all the components, it’s time to put everything together:
- Mount the motors to the drone frame and attach the propellers.
- Connect the ESCs to the motors and the flight controller.
- Attach the PDB to distribute power between the battery and the various components.
- Install the flight controller, ensuring it’s mounted securely to reduce vibrations.
- Connect the receiver to the flight controller to enable remote control.
5. Configure the Software
After assembling the hardware, configure the open-source software to control the drone:
- Download the appropriate firmware for your flight controller (e.g., ArduPilot or PX4).
- Use the corresponding ground control software (e.g., Mission Planner for ArduPilot or QGroundControl for PX4) to configure flight parameters, such as flight modes, sensor calibration, and GPS settings.
- Set up failsafes (e.g., return to home in case of signal loss) to ensure safe flight.

6. Test and Calibrate
Before taking your drone out for a flight, test the system to ensure everything works as expected:
- Calibrate the sensors (e.g., accelerometer, gyroscope) using your ground control software.
- Test the motors and ESCs to ensure they are functioning correctly and in sync.
- Perform a range check on the transmitter and receiver to confirm signal strength.
7. First Flight
Once everything is set up and calibrated, it’s time for your first flight:
- Start with short, low-altitude flights in an open area to test the controls.
- Gradually increase the complexity of your flights as you become more comfortable controlling the drone.
Considerations:
Safety: Always fly your drone in a safe, open space and comply with local regulations.
Battery Management: Ensure your batteries are charged correctly and avoid over-discharge, which can damage the battery.
Upgrades: As you gain more experience, you can upgrade your drone with additional features like a camera, GPS, or improved sensors.

By building a DIY drone with open-source software, you gain full control over your drone’s capabilities and can customize it to suit your needs.


